From First Sketch to Final Graphic: A Dripn Design Story
A finished graphic tee can look simple. A strong image, a few words and the right placement—done.
The reality involves more decisions than the final product reveals.
The artwork needs to communicate clearly, suit the garment, remain balanced at the intended print size and still feel connected to the original idea. Here is how a typical Dripn graphic develops from an early concept into a finished design.
Step 1: Find the central idea
Every design needs a reason to exist.
The starting point might be:
- A phrase with a particular rhythm
- A musical mood or lyric
- A rough hand-drawn character
- A colour combination
- A retro visual reference
- A feeling that needs a clearer image
At this stage, the aim is not to produce polished artwork. It is to identify the part of the concept worth developing.
A useful test is whether the idea can be explained in one clear sentence. If it needs several paragraphs before the artwork makes sense, the concept may need to be simplified.
Step 2: Build the visual direction
Once the idea is clear, references help define its world.
This does not mean copying another artist, clothing label or existing design. References are used to understand qualities such as atmosphere, colour, composition, texture and typography.
A music-inspired design may call for darker colours and more dramatic imagery. A retro concept might use brighter tones, curved lettering or graphic shapes. A character-based design may depend more on silhouette and expression.
The purpose of this stage is to set boundaries. Knowing what the design should not become can be as useful as knowing what it should.
Step 3: Create rough concepts
The first version is rarely the final version.
Several rough layouts may test:
- Central versus off-centre artwork
- Large versus restrained print scale
- Image-led versus type-led composition
- Different colour combinations
- Alternative lettering styles
- The amount of empty space around the graphic
Early concepts are useful because they expose weak decisions before too much time is invested in detail.
The strongest direction is not always the most complicated. A clear visual hierarchy usually communicates faster than a collection of competing elements.
Step 4: Refine the artwork
Once a direction is selected, the design can be tightened.
Lines, shapes, typography and spacing are reviewed at both full size and thumbnail size. This matters because people may first encounter the product as a small image on a phone.
The design needs to hold together from a distance while offering enough detail when viewed closely.
Colour is also tested against the garment. A combination that looks strong on white may lose contrast on black, grey or a bright fabric. Each colour option should be considered as its own composition rather than treated as a simple background swap.
Step 5: Test it on the garment
Artwork is not automatically apparel design.
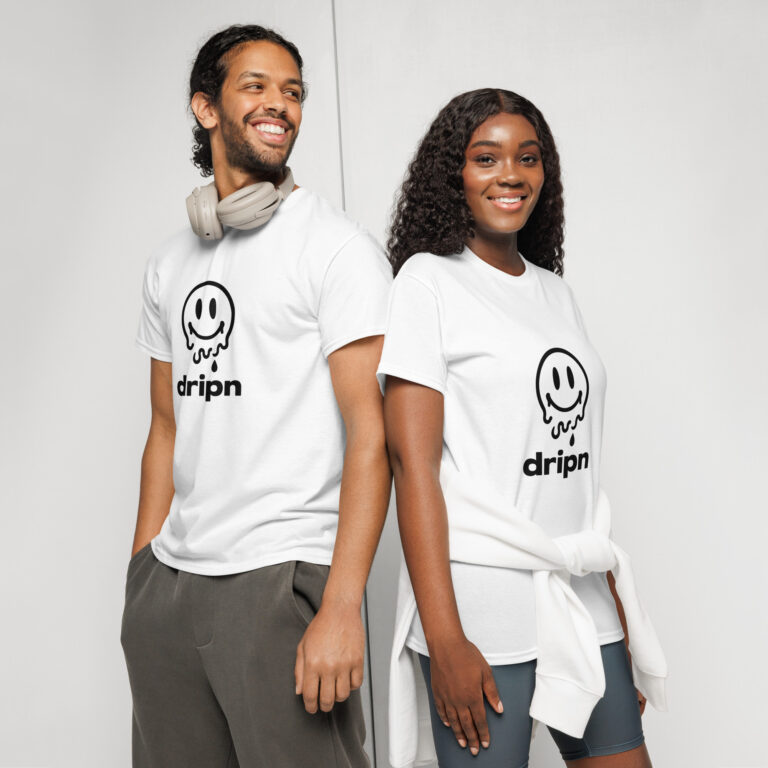
The shape of a T-shirt changes how an image appears. Seams, neckline, chest width and garment length all affect placement. A print that looks balanced on a square canvas can feel too small, too high or too low when placed on a body.
Mock-ups help evaluate:
- Print size
- Distance from the neckline
- Balance across different garment sizes
- Visibility beneath an open shirt or jacket
- How the design reads when someone is moving
This is also where the artwork may be simplified or resized.
Step 6: Review the whole product
Before release, the product is reviewed as a complete item rather than artwork alone.
The graphic, garment colour, product images, description, sizing information and page presentation need to tell the same story.
This stage can uncover inconsistencies. A product may look playful but have overly formal copy. An oversized-looking mock-up might sit beside unclear fit information. A colour name may not match the product image closely enough.
Removing that friction helps shoppers understand what they are considering.
Step 7: Prepare the release
Once the product is ready, the release needs its own assets:
- Product photography and mock-ups
- Accurate product specifications
- Search-friendly product copy
- Image alt text
- Social content
- Email announcements
- Styling ideas
- The story behind the design
The product page answers practical buying questions. The design story explains the creative idea. Both have a different job.
The design is finished when it works as clothing
Good artwork is only one part of a strong graphic tee.
The final piece needs a clear idea, a readable composition and a placement that works on the garment. It should also leave room for the person wearing it to make it their own.
Explore the current Dripn designs or read The Story Behind the Dripn Face T-Shirt next.