Inside a Dripn Release: What Happens Before Launch
Launching a graphic tee involves more than uploading an image and pressing publish.
Before a new Dripn design appears in the shop, the artwork, garment, product information, website experience and launch content all need to work together.
This is the process behind a typical Dripn release.
1. Confirm the design direction
A release begins with the central concept.
By this stage, the design has usually moved beyond rough experimentation. The strongest visual direction has been selected, but the artwork still needs a final review.
The questions are practical:
- Is the focal point immediately clear?
- Can the text be read at the intended size?
- Does the composition feel balanced on a shirt?
- Does the colour contrast work?
- Does the design still connect to its original idea?
- Is the artwork sufficiently original and cleared for use?
This is the moment to fix weak decisions—not after product images and campaign assets have been created.
2. Match the artwork with the garment
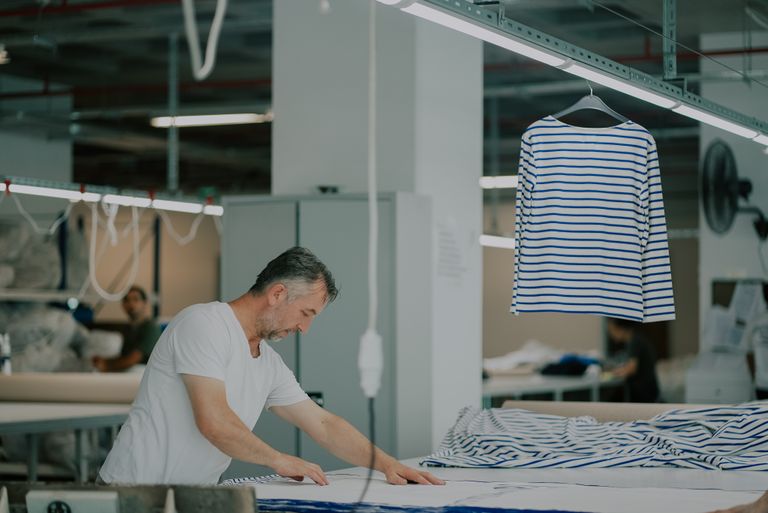
The garment and artwork have to work as one product.
A detailed illustration may need a different print scale from a simple typographic design. Bright artwork may respond differently to black, white, grey or coloured fabric. The intended fit also changes how the finished piece appears.
Product selection should consider:
- Garment composition
- Fabric weight
- Available colours
- Size range
- Fit description
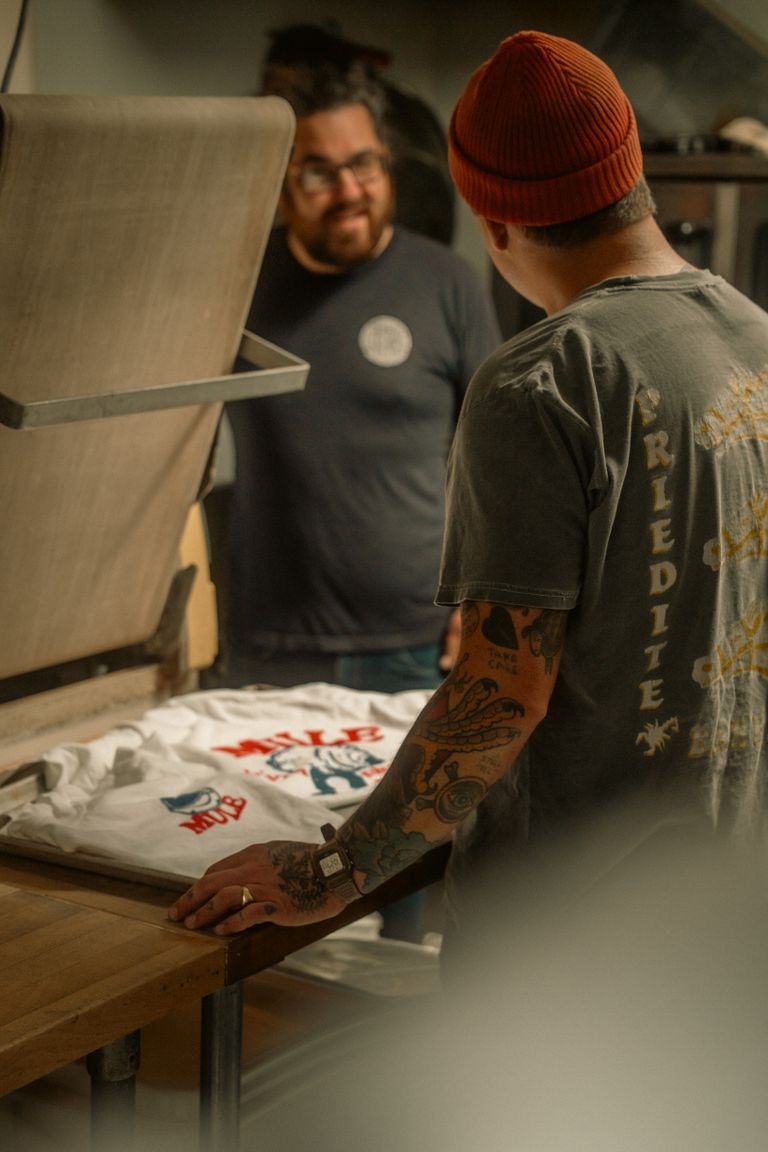
- Print method and printable area
- Care requirements
- Supplier and fulfilment details
Only verified specifications should appear on the product page.
3. Test placement and scale
A digital graphic is not automatically ready for clothing.
The artwork is tested on a garment mock-up to review its relationship with the neckline, chest, seams and overall silhouette. Different sizes may affect how the same print placement feels.
The design may need to move higher, lower or change scale. A large graphic should feel intentional rather than accidentally oversized. A smaller graphic must still remain readable.
This step connects the creative idea with the realities of the product.
4. Build the product page
The product page needs to answer practical questions quickly.
A clear Dripn product page should include:
- Accurate product name
- Price, including GST where applicable
- Available colours and sizes
- Garment composition
- Fit description
- Size guide or measurements
- Care information
- Shipping and return links
- Clear product images
- A concise explanation of the design
- Related products or styling suggestions
The creative story supports the purchase, but it cannot replace essential product information.
Search optimisation is also completed here. The product name, page title, URL, meta description, headings, copy and image alt text should describe the item naturally and consistently.
5. Prepare visual assets
Shoppers need to understand both the design and the garment.
A release may use:
- A clear front product image
- A back view when relevant
- Close-ups of the artwork
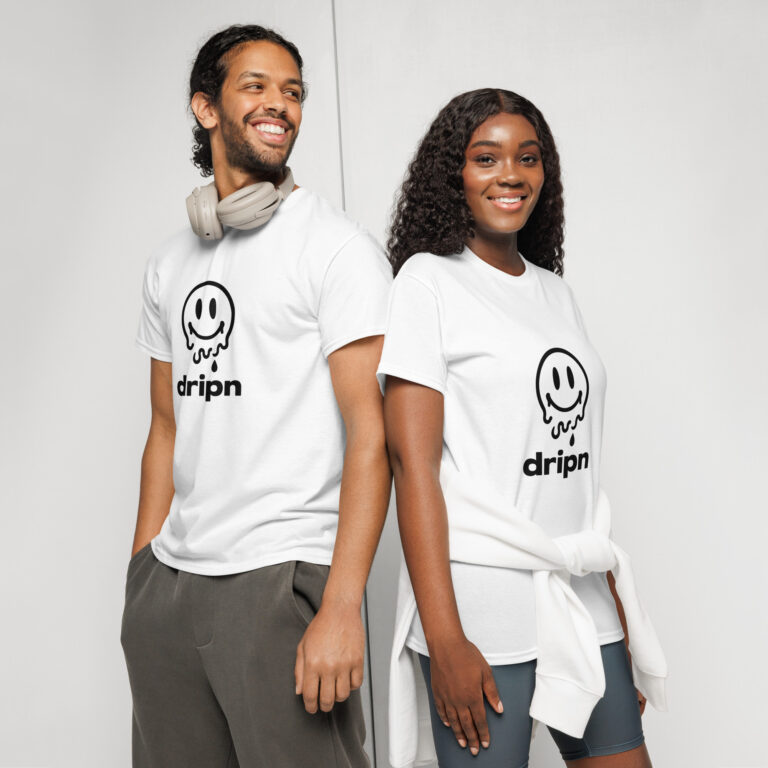
- Model or lifestyle imagery
- Images showing alternative colours
- Portrait assets for social media
- Landscape or square assets for the website and email
- Short-form video showing movement and fit
Images should remain consistent enough that someone moving from social media to the product page recognises the same item.
6. Write the launch story
A product announcement explains what has launched. A design story explains why it exists.
Where the concept has a genuine background—such as the connection between Droopy Drip’s Night Safari track and the corresponding graphic tee—it is worth documenting.
Other releases may focus on typography, character development, colour or a particular creative reference.
The important part is accuracy. A simple design does not need an invented mythology. A clear, honest explanation is stronger than a dramatic story added after the fact.
7. Check the complete customer journey
Before launch, the route from discovery to checkout needs testing.
That includes:
- Opening the product from social and email links
- Testing the page on mobile and desktop
- Selecting product options
- Reviewing the size information
- Adding the item to the cart
- Confirming shipping information
- Completing a test checkout where appropriate
- Checking confirmation and abandoned-cart emails
- Confirming analytics and eCommerce tracking
A strong campaign cannot compensate for a confusing purchase journey.
8. Schedule launch content
The release can then be introduced across several stages:
Tease
Show a detail, colour or partial graphic without revealing the complete piece.
Reveal
Present the full design and explain the main idea.
Launch
Direct people to the live product page with the clearest product details and CTA.
Follow through
Publish styling ideas, behind-the-design content, close-ups and customer-created content when genuine material becomes available.
Not every follower sees the first post. Repeating the release from different angles gives people more than one way to discover it.
9. Review what happened
The work continues after launch.
Useful signals include:
- Product-page visits
- Traffic source
- Add-to-cart rate
- Checkout completion
- Email clicks
- Social saves and shares
- Search impressions
- Questions received
- Size or product-information issues
- Sales by product variant
These insights can improve both the current product page and the next release.
From an idea to the shop
A Dripn release brings together design, product information, content, website experience and customer feedback.
Each stage has a different role. The artwork earns attention. The product page removes uncertainty. The launch content creates interest. The website makes it possible to act.
Explore the latest Dripn products or read how a concept moves through the graphic tee design process.